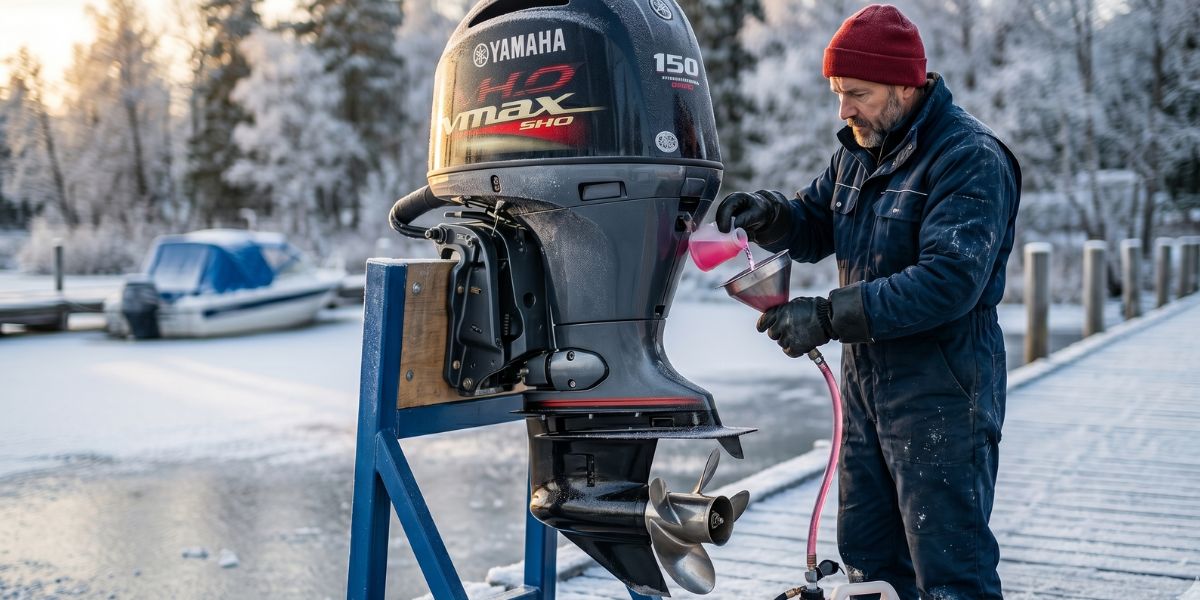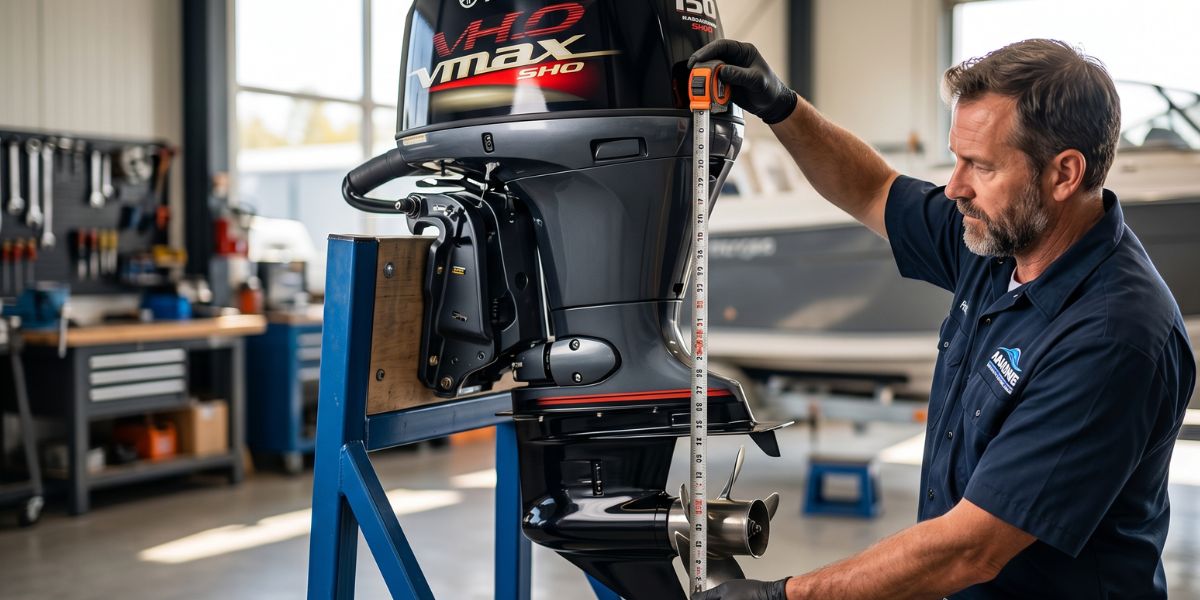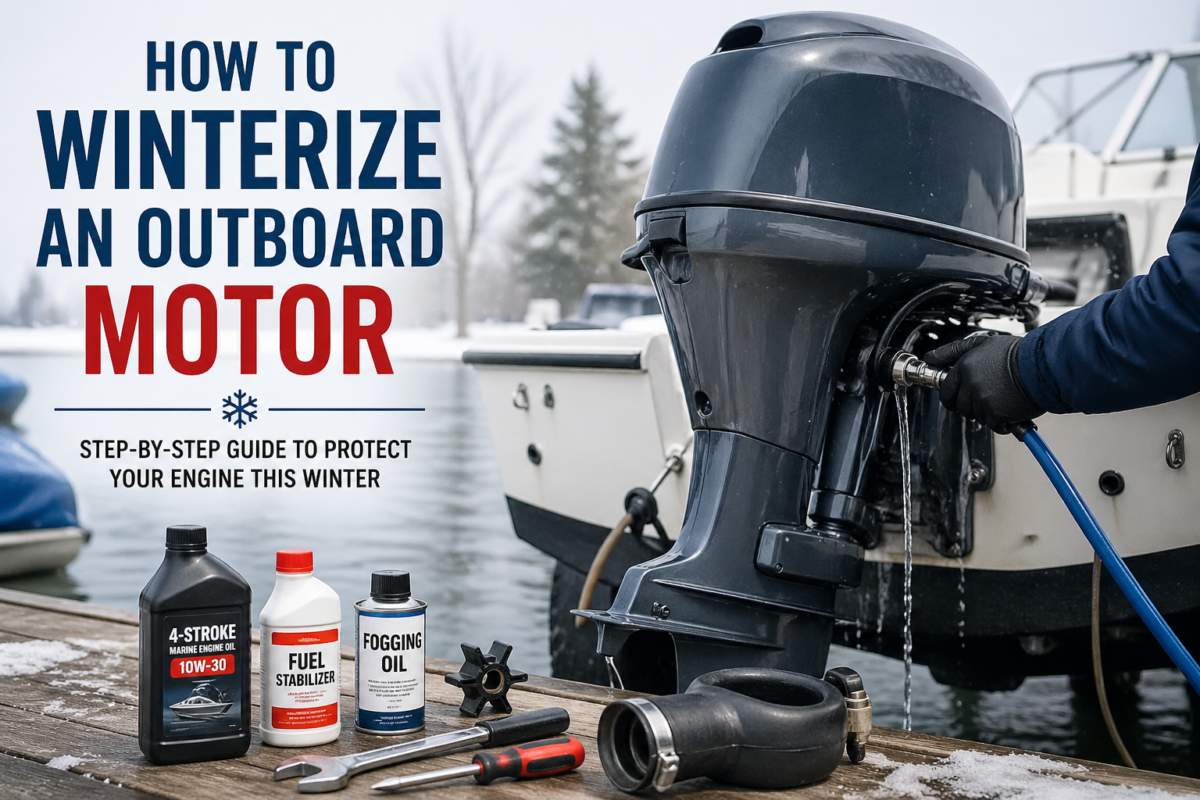

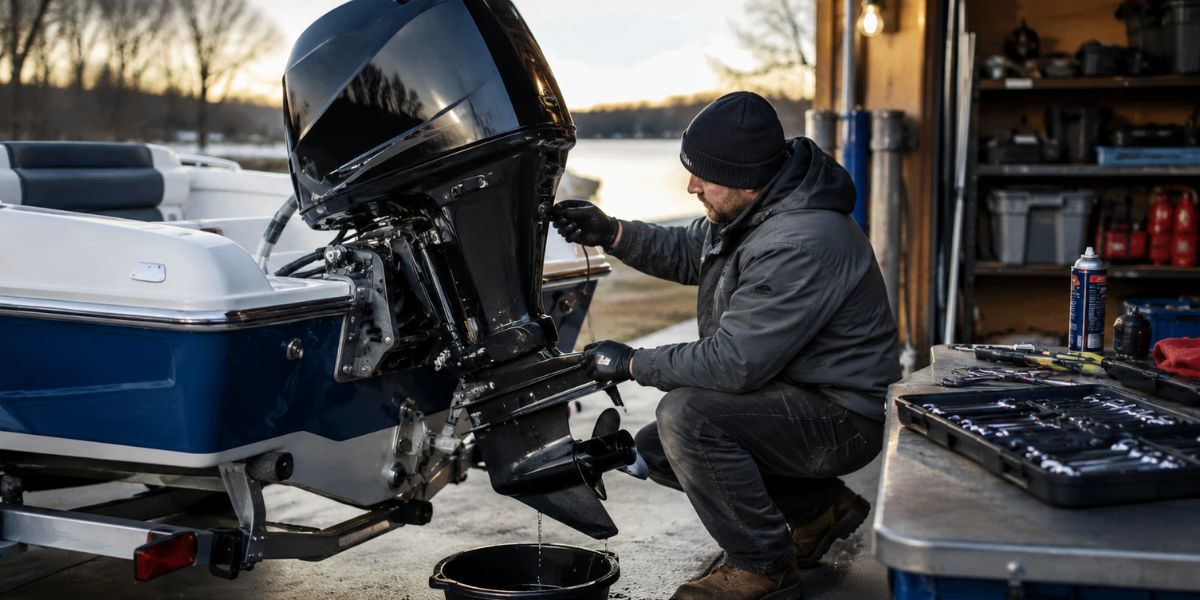
Learning how to winterize a 2 stroke outboard motor is one of the smartest things a boat owner can do before cold weather arrives. A two-stroke outboard may look simple, but it still needs proper care before long storage. Fuel can go stale. Moisture can cause rust. Water inside the lower unit can freeze. Small problems that seem harmless in fall can turn into expensive repairs in spring.
The good news is that winterizing a two-stroke outboard is not too hard. Most careful boat owners can do the basic job at home with the right tools, the right supplies, and a little patience. The key is to follow a clear process and never guess on steps that depend on your engine model.
This guide explains the full winterization process in simple language. You will learn how to treat the fuel, flush the motor, fog the engine, check spark plugs, change lower unit oil, grease moving parts, protect the battery, and store the motor correctly.
Before you begin, always check your owner’s manual. Different brands and models can have different steps, especially direct fuel injected two-stroke engines. Mercury, for example, says conventional two-stroke engines can be treated with fogging oil, while some DFI two-stroke engines need oil added through the spark plug holes instead of the normal fogging method.
What Does Winterizing a 2 Stroke Outboard Motor Mean?
Winterizing means preparing your outboard motor for a long period of storage. For many boaters, this happens before winter. But the same process can also help any time the motor will sit unused for months.
A two-stroke outboard mixes fuel and oil during operation. This gives the engine some internal lubrication while it runs. But that does not mean you can skip winterization. During storage, fuel can break down, metal parts can collect moisture, and water inside the motor can freeze in cold weather.
Winterizing helps protect the engine from:
- Stale fuel
- Carburetor gum
- Internal rust
- Lower unit damage
- Corrosion
- Battery failure
- Hard starting in spring
Mercury warns that water in lower unit gear lube can freeze and expand during storage, which can damage the gearcase. This is one reason lower unit oil service is an important part of winterizing.
Tools and Supplies You Need
Before starting, gather everything in one place. This saves time and helps you avoid stopping halfway through the job.
You may need:
- Marine fuel stabilizer
- Fogging oil
- Fresh two-stroke oil
- Lower unit gear oil
- Gear oil pump
- Spark plug wrench
- New spark plugs, if needed
- Marine grease
- Grease gun
- Flushing muffs or flushing adapter
- Garden hose
- Screwdrivers
- Drain pan
- Clean rags
- Battery charger or maintainer
-
Corrosion protection spray
- Replacement drain plug gaskets
Yamaha recommends replacing both the vent and drain plug gaskets during lower unit service, not reusing the old ones. This is a small detail, but it helps prevent water from getting into the lower unit later.
Step 1: Read Your Owner’s Manual First
This step sounds boring, but it matters. Your owner’s manual tells you the correct oil, gear lube, spark plug type, fuel care method, and storage steps for your exact engine.
Not all two-stroke outboards are the same. A small carbureted two-stroke motor may use one winterizing method. A larger direct fuel injected motor how to winterize outboard motor may need another method. That difference is very important during fogging.
Mercury notes that conventional two-stroke engines can be treated with fogging oil to help stop internal corrosion. But for DFI two-stroke engines, such as some OptiMax models, Mercury describes a different process using DFI outboard oil through the spark plug hole.
So, before you spray anything into the intake, check the manual. It can save you from making a costly mistake.
Step 2: Add Fuel Stabilizer
Fuel is one of the biggest trouble spots during winter storage. Gasoline can break down over time. It can leave deposits in the carburetor or fuel system. In a two-stroke motor, bad fuel can also affect lubrication and starting.
Add a marine fuel stabilizer to the fuel tank. Use the amount listed on the stabilizer bottle. Do not guess. Too little may not protect the fuel well. Too much is also not ideal.
After adding stabilizer, run the engine long enough for treated fuel to move through the fuel lines and carburetor. Sea Tow recommends running the motor after adding stabilizer so the treated fuel reaches the fuel system.
For best results, use fresh fuel before storage. Old fuel that has already started to break down will not become perfect just because stabilizer is added. Stabilizer works best before fuel goes bad.
Step 3: Flush the Outboard With Fresh Water
Next, flush the cooling system. This removes salt, sand, dirt, and other debris from the motor. This is very important for saltwater boaters, but freshwater boaters should do it too.
Use flushing muffs or the flushing method recommended by your engine manufacturer. Make sure water is flowing before you start the motor. Never run an outboard without cooling water. Running dry can damage the water pump impeller fast.
Let the engine run long enough to reach normal operating temperature. This helps treated fuel move through the system and helps prepare the engine for fogging.
Keep an eye on the tell-tale stream. You should see water coming out. If water does not flow correctly, stop the engine and check the setup.
Step 4: Fog the Engine
Fogging protects the inside of the engine from moisture and corrosion. It coats the cylinder walls, piston rings, and other internal parts with oil. This is one of the most important steps for many conventional two-stroke outboard motors.
For many carbureted two-stroke motors, fogging oil is sprayed into the intake while the motor is running. The engine may smoke and stumble. That is normal. Some people also remove the spark plugs and spray fogging oil into each cylinder.
Mercury says conventional two-stroke engines should be treated with fogging oil while the motor is still warm, and the oil can be sprayed into each cylinder through the spark plug holes. Mercury Marine Yamaha also describes fogging as an important maintenance step for outboard storage.
Be careful with fuel-injected or direct-injected two-stroke motors. They may need a special process. Some systems do not like fogging oil sprayed through the intake. Your manual should guide you.
Step 5: Remove and Inspect the Spark Plugs
After fogging, remove the spark plugs. Look at them closely. A spark plug can tell you a lot about how the engine has been running.
Check for:
- Heavy carbon buildup
- Oil fouling
- Worn electrodes
- Cracked ceramic
- Rust
- Damage
A little dark color is common on some two-stroke engines. But heavy buildup, wet plugs, or uneven plug color may point to fuel, oil, or ignition issues.
If the spark plugs are old, replace them. Use the exact plug type and gap listed in your manual. Do not install random spark plugs just because they fit.
Before reinstalling, some manufacturers recommend adding oil into the cylinder or using fogging oil. After that, turn the flywheel by hand or bump the starter briefly to spread the oil. Keep the kill switch off or follow safe starting steps so the engine does not start by accident.
Step 6: Change the Lower Unit Gear Oil
The lower unit holds gear oil that protects the gears and bearings. This oil should be checked or changed before winter storage.
Remove the lower drain screw first. Then remove the upper vent screw. Let the old gear oil drain into a pan. Look at the oil as it comes out.
Healthy gear oil may look dark, but it should not look milky. Milky or creamy oil can mean water has entered the lower unit. Mercury says white or creamy gear lube may show water contamination, and water inside the gearcase can freeze and expand during storage.
If you see water, metal shavings, or a burnt smell, do not ignore it. A damaged seal or gear problem should be fixed before the motor goes back in service.
Refill the lower unit from the bottom drain hole using a gear oil pump. Pump oil until it comes out of the upper vent hole. Yamaha recommends pausing to let air escape, then adding more lubricant until it comes out the vent again.
Install new gaskets on the drain and vent screws. Tighten them properly, but do not strip the threads.
Step 7: Check the Propeller and Prop Shaft
This is a simple step that many owners skip. Remove the propeller and inspect the prop shaft.
Look for fishing line wrapped around the shaft. Fishing line can cut into the prop shaft seal. Once that seal is damaged, water can enter the lower unit and cause gear damage.
Mercury recommends checking the prop shaft for fishing line after removing the propeller, because line can press into the seal and allow water into the gearcase.
Also inspect the propeller for:
- Bent blades
- Cracks
- Missing chunks
- Heavy dents
- Worn hub
If the prop is damaged, winter is a good time to repair or replace it. Before reinstalling the prop, apply marine grease to the prop shaft. This helps prevent the prop from seizing onto the shaft.
Step 8: Grease Moving Parts
A boat motor lives in a wet environment. Grease helps protect moving parts from rust and sticking.
Use marine grease on grease fittings, steering parts, pivot points, and tilt points. Do not use random household grease. Marine grease is made to handle water better.
Yamaha recommends using marine grease on fittings such as steering, shift, and related moving points during winterization.
Also move the steering and tilt parts after greasing them. This helps spread the grease. Wipe away extra grease so it does not collect dirt.
Step 9: Protect the Powerhead From Corrosion
Remove the cowling and inspect the powerhead. Look for loose wires, cracked hoses, leaks, salt buildup, rust, or signs of pests.
Use a corrosion protection spray on exposed metal parts. Do not soak electrical connectors unless the product says it is safe for that use. Avoid spraying belts or parts that should stay dry.
Mercury says corrosion protection products can help protect painted and unpainted surfaces from saltwater corrosion on the powerhead and lower unit.
This step is especially useful for saltwater boaters. Salt can keep attacking metal even after the season ends.
Step 10: Drain Water From the Motor
Water left inside the engine can freeze. When water freezes, it expands. That expansion can crack parts.
After flushing, let the motor drain fully. Store the motor in the vertical position. Do not leave it tilted up during freezing weather.
Mercury says the motor should be trimmed down to the vertical position during storage so remaining water can self-drain. Trapped water can freeze and cause serious damage.
This is one of the easiest winterizing steps, but it is also one of the most important.
Step 11: Check the Two-Stroke Oil System
If your motor has oil injection, check the oil tank and oil lines. Look for cracks, leaks, loose clamps, and old hoses.
Use the correct two-stroke oil for your engine. Do not mix unknown oils unless the manufacturer says it is okay. If your oil tank is dirty or has water inside, fix that before storage.
Some winterization guides recommend filling the two-stroke oil tank before storage to reduce air space and condensation risk. Sea Tow includes filling the two-stroke oil tank as part of its grease and protection checklist.
If your motor uses premixed fuel, make sure the fuel and oil ratio is correct before the final run.
Step 12: Take Care of the Battery
A weak battery can ruin your first spring boating day. Before winter storage, disconnect the battery. Clean the terminals. Charge the battery fully.
Store the battery in a cool, dry place that does not freeze. A battery maintainer can help keep it charged during storage.
Yamaha recommends removing the battery or batteries to a cool, dry place and charging them fully before storage.
Do not leave a battery sitting dead all winter. It may not recover in spring.
Step 13: Store the Motor Correctly
Good storage protects all the work you just did.
Store the outboard upright. Keep it in a dry place if possible. Use a breathable cover. Do not wrap the motor tightly in plastic because trapped moisture can cause corrosion.
Check that the cowling is secure. Make sure the area around the motor is clean. If mice are common in your storage area, take steps to keep them away. Rodents can chew wires and build nests under the cowling.
A clean, dry, upright motor has a much better chance of starting well next season.
Common Mistakes to Avoid
Many winterization problems come from simple mistakes. Avoid these:
Do not skip fuel stabilizer. Untreated fuel can cause carburetor and fuel system problems.
Do not run the motor without water. This can damage the cooling system.
Do not forget the lower unit oil. Water in the gearcase can freeze and cause major damage.
Do not store the motor tilted up. Store it vertical so water can drain.
Do not fog the wrong way. Fuel-injected and DFI engines may need a special process.
Do not reuse damaged drain plug gaskets. Bad gaskets can allow water into the lower unit.
Do not ignore milky gear oil. It can mean a seal problem.
Do not leave the battery dead all winter. Charge it and store it properly.
Do not guess on oil type. Use the product recommended for your engine.
Quick Winterization Checklist
Use this simple checklist before storing your two-stroke outboard:
- Read the owner’s manual
- Add fuel stabilizer
- Run the engine to circulate treated fuel
- Flush the motor with fresh water
- Fog the engine using the correct method
- Remove and inspect spark plugs
- Change lower unit gear oil
- Replace drain and vent plug gaskets
- Check the prop and prop shaft
- Remove fishing line from the shaft
- Grease moving parts
- Spray corrosion protection
- Check fuel and oil lines
- Charge and store the battery
- Drain all water
- Store the motor upright
How Often Should You Winterize a 2 Stroke Outboard?
Winterize your outboard any time it will sit unused for a long period, especially through freezing weather. For most boaters, that means once a year at the end of boating season.
Even in warmer areas, fuel and corrosion can still cause problems during long storage. So, winterizing is not only about freezing weather. It is also about protecting the motor from sitting unused.
If you use your boat all year, you may not need full winter storage. But you should still flush the motor, maintain fuel, check lower unit oil, and keep up with normal service.
Can You Winterize a 2 Stroke Outboard Yourself?
Yes, many boat owners can winterize a two-stroke outboard themselves. Small carbureted motors are usually easier to work on than larger modern engines.
But there are times when a marine technician is the better choice. Use a professional if:
- Your motor is under warranty
- You have a DFI or complex fuel-injected engine
- You find water in the lower unit
- The engine runs poorly
- You are unsure about fogging
- You do not have the right tools
- You want a service record
Doing it yourself can save money, but doing it wrong can cost more later.
Final Thoughts
Knowing how to winterize a 2 stroke outboard motor helps you protect your engine, save money, and avoid spring frustration. The process is not complicated, but every step matters.
Start with clean, stabilized fuel. Flush the engine. Fog it the right way. Change the lower unit oil. Grease moving parts. Protect the powerhead. Drain the water. Store the motor upright.
A few hours of care before winter can help your two-stroke outboard start faster, run smoother, and last longer. Before your next boating season begins, you will be glad you took the time to do it right.
FAQs
How do you winterize a 2 stroke outboard motor?
To winterize a 2 stroke outboard motor, add fuel stabilizer, run the engine, flush it with fresh water, fog the engine, inspect spark plugs, change lower unit gear oil, grease moving parts, drain water, care for the battery, and store the motor upright.
Do you need to fog a 2 stroke outboard motor?
Many conventional two-stroke outboards should be fogged before storage to help protect internal parts from moisture and rust. Some direct fuel injected models need a different method, so always check your owner’s manual.
Should I drain fuel from my 2 stroke outboard before winter?
Many boaters use stabilized fresh fuel instead of draining the system completely. The right choice depends on your motor, fuel type, and storage time. Follow your engine maker’s advice.
Should I change lower unit oil before winter?
Yes, changing or checking lower unit oil before winter is a smart step. If water is inside the gearcase, it can freeze and damage parts. Milky oil may mean water contamination.
Can I leave my outboard tilted up all winter?
No, it is better to store the outboard in the vertical position. This helps water drain from the motor. Trapped water can freeze and cause damage.
How long does it take to winterize a two-stroke outboard?
Most small two-stroke outboards can be winterized in one to two hours. Larger motors or engines with fuel injection may take longer.
What happens if I do not winterize my outboard?
You may face stale fuel, carburetor problems, internal rust, lower unit damage, dead battery issues, corrosion, or hard starting in spring.
Can I use regular automotive oil or grease?
No. Use marine products recommended for your outboard. Marine engines work in wet, harsh conditions, so they need the right lubricants and corrosion protection.