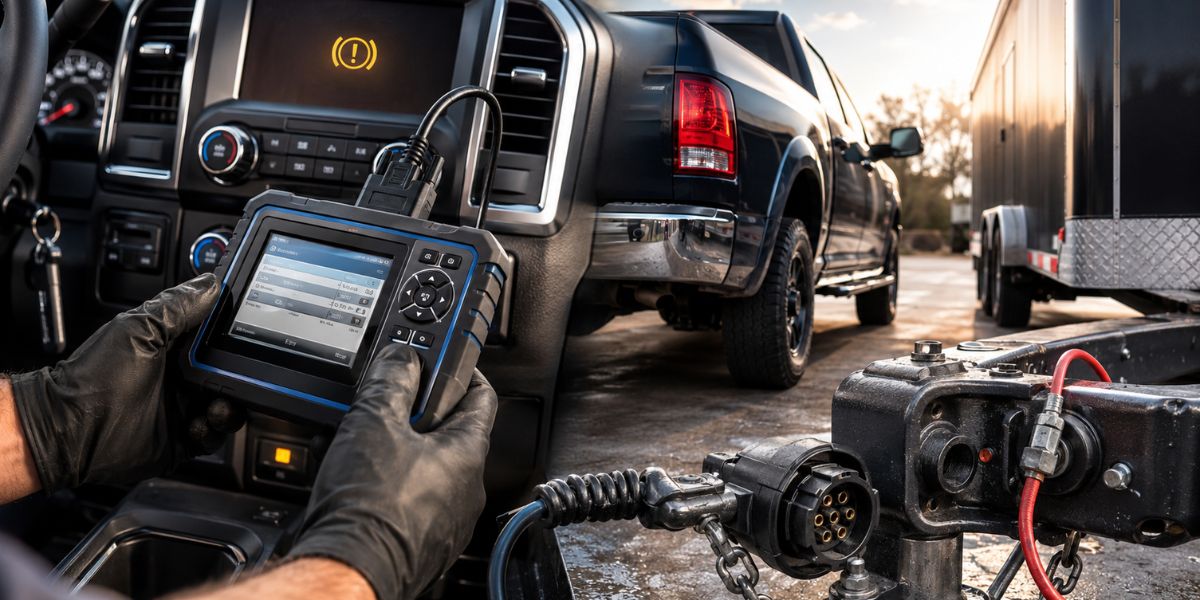
You’ve just bolted in a 450-horsepower crate engine. The torque is intoxicating. The sound is glorious. But there’s a problem you didn’t anticipate: you can’t stop.
One of the most overlooked aspects of any engine swap is the brake system. A modern crate engine—whether it’s an LS3, a BluePrint 383, or a Ford Coyote—has different demands than the original engine your car came with. If you slap a high-performance motor into a classic car without addressing the brakes, you’re building a dangerous machine.
This guide covers everything you need to know about brake systems for crate engines: vacuum vs. hydroboost, master cylinder sizing, disc brake conversions, and how to ensure your car stops as confidently as it accelerates.
Why Your Crate Engine Changes Your Brake Needs
When you upgrade your engine, you’re altering several variables that your original brake system wasn’t designed to handle:
-
Increased Speed: You’ll be carrying significantly more speed into corners and stoplights. Stock drums from the 1960s weren’t designed to haul a car down from 120 mph.
-
Vacuum Signature: Modern performance camshafts produce less manifold vacuum than stock engines. Your power brake booster may suddenly stop working.
-
Weight Distribution: An aluminum LS engine is lighter than a cast-iron big block. That changes brake bias and front-rear balance.
-
Transmission: A modern automatic or manual transmission may not have a provision for a mechanical brake light switch or parking brake linkage.
The Bottom Line: If you’re installing a crate engine, you should be installing a brake system upgrade alongside it.
Understanding brake systems for crate engines is crucial for optimal performance and safety.
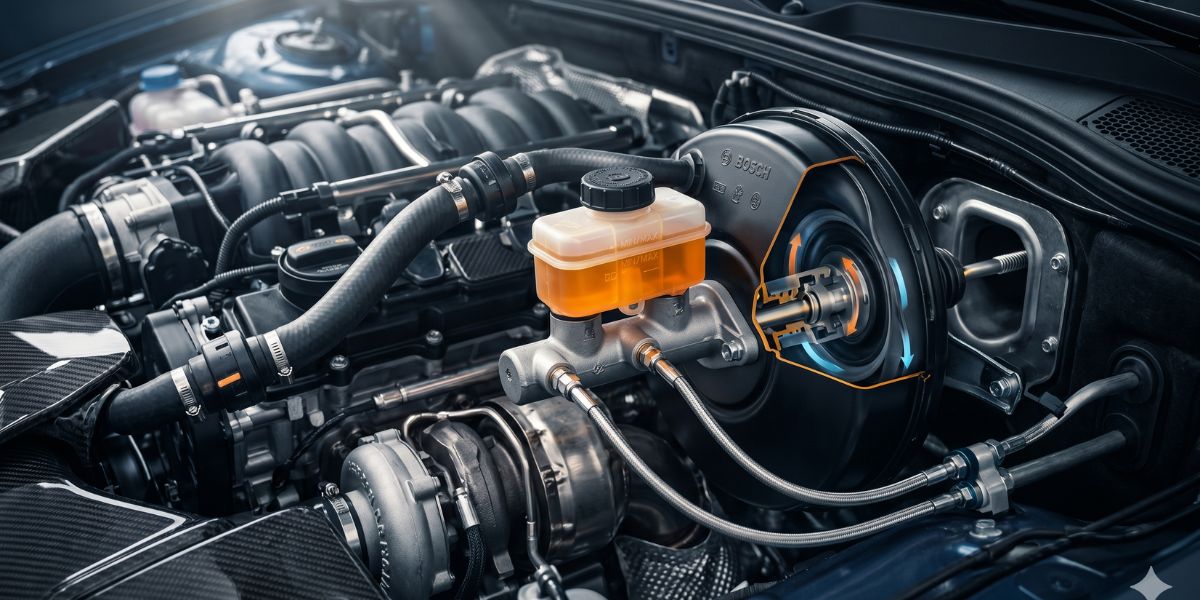
Step 1: Vacuum Brakes vs. Hydroboost
The first decision you’ll face is what powers your brake booster. This is determined almost entirely by your engine’s vacuum output.
Vacuum Power Brakes
This is the traditional setup. A vacuum booster uses engine vacuum to multiply the force you apply to the brake pedal.
How It Works: The engine’s intake manifold creates a vacuum. That vacuum is stored in a reservoir (the booster). When you press the brake pedal, the stored vacuum assists you.
Pros:
-
Simple, familiar design
-
Inexpensive (boosters cost $150–$300)
-
Wide aftermarket support
Cons:
-
Requires 15–18 inches of vacuum to function properly
-
Performance camshafts often kill the vacuum
When to Use Vacuum Brakes:
If your crate engine has a mild camshaft and produces at least 16 inches of manifold vacuum at idle, vacuum brakes are the simplest, most cost-effective solution.
Hydroboost Brakes
Hydroboost uses hydraulic pressure from your power steering pump to assist braking, rather than engine vacuum.
How It Works: The hydroboost unit sits between the brake pedal and master cylinder. It taps into the power steering pump’s high-pressure output to provide braking assistance.
Pros:
-
No vacuum required—perfect for big camshafts
-
Superior stopping power (higher pressure than vacuum)
-
Compact size fits in tight engine bays
-
Provides consistent assist regardless of engine load
Cons:
-
More expensive ($500–$800 for a complete kit)
-
Requires power steering (if you’re running manual steering, this adds complexity)
-
More hoses and potential leak points
When to Use Hydroboost:
If your crate engine has a radical camshaft (under 12 inches of vacuum), if you’re running a diesel engine, or if you simply want the best stopping power available, hydroboost is the answer.
| Feature | Vacuum Boost | Hydroboost |
|---|---|---|
| Requires engine vacuum | Yes (15-18 in Hg) | No |
| Stopping pressure | Standard | 30-50% higher |
| Cost | $ | $$ |
| Complexity | Simple | Moderate |
| Best for | Mild cams, daily drivers | Big cams, performance builds |
Step 2: Master Cylinder Sizing
The master cylinder is the heart of your hydraulic system. Choosing the wrong bore size leads to a pedal that’s either rock hard (no stopping power) or hits the floor (excessive pedal travel).
How Master Cylinder Bore Size Affects Feel
-
Smaller Bore (7/8″ – 1″): Higher hydraulic pressure, longer pedal travel, softer pedal feel. Good for manual brakes or heavy cars.
-
Larger Bore (1-1/8″ – 1-1/4″): Lower pressure, shorter pedal travel, firmer pedal feel. Good for power brakes with adequate assist.
Disc/Disc vs. Disc/Drum
Your master cylinder must match your brake configuration:
-
Disc/Drum: Requires a residual pressure valve (10 psi for drum rear) to maintain shoe adjustment. The master cylinder has different reservoir sizes (larger for the disc front).
-
Disc/Disc: No residual valves needed (or 2 psi for disc). Equal reservoir sizes or a dedicated distribution block.
Pro Tip: If you’re doing a crate engine swap, this is the perfect time to convert to four-wheel disc brakes. The cost has come down significantly, and the stopping improvement is dramatic.
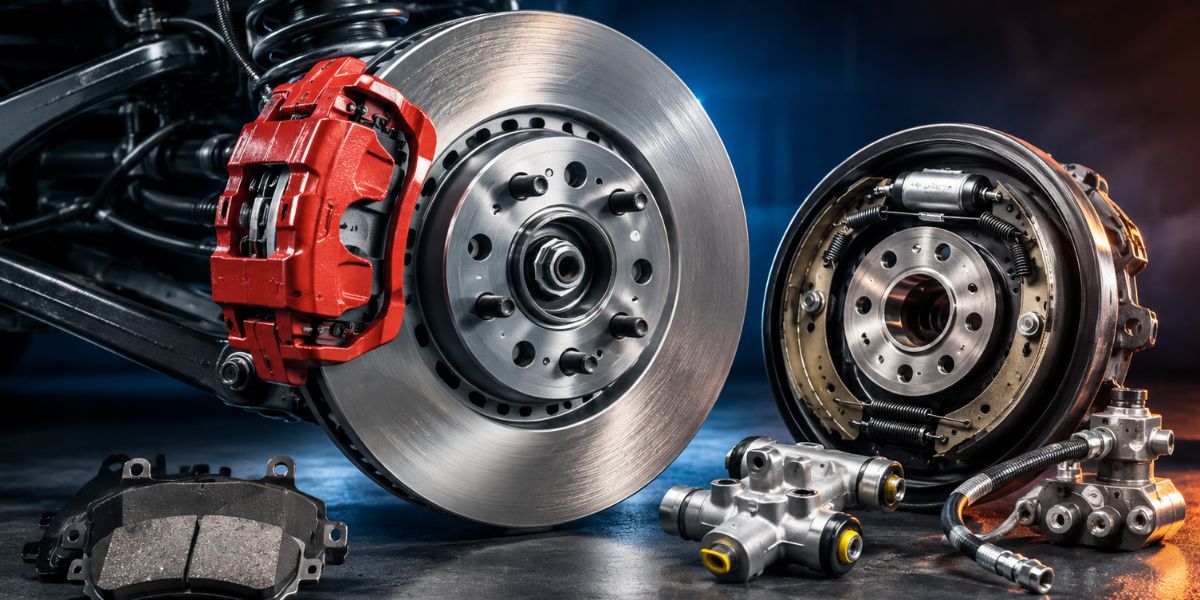
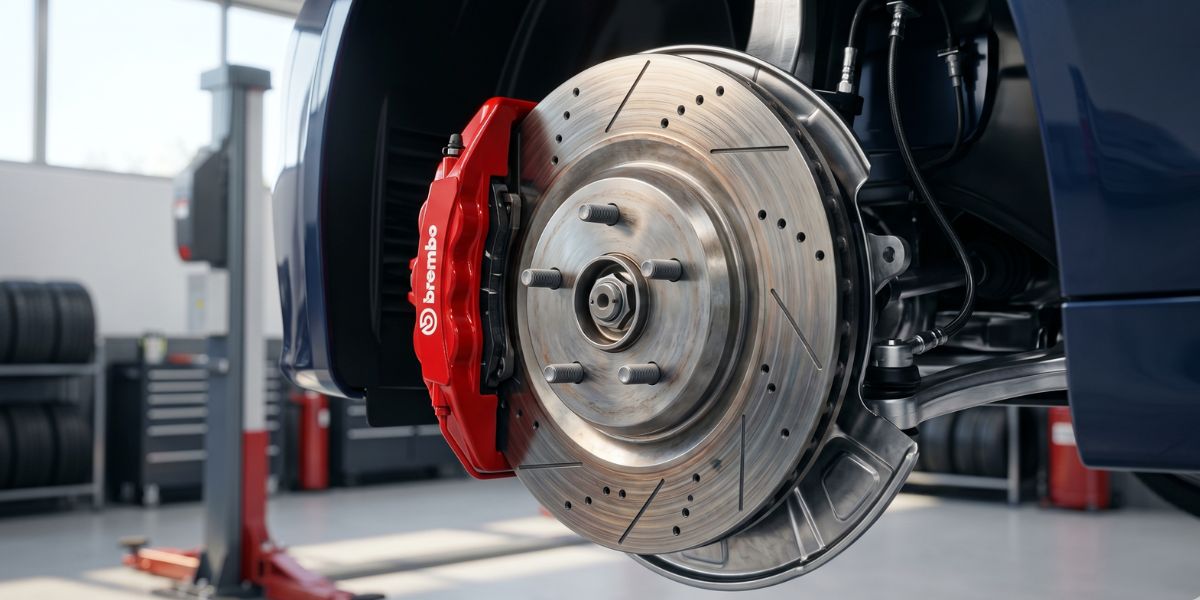
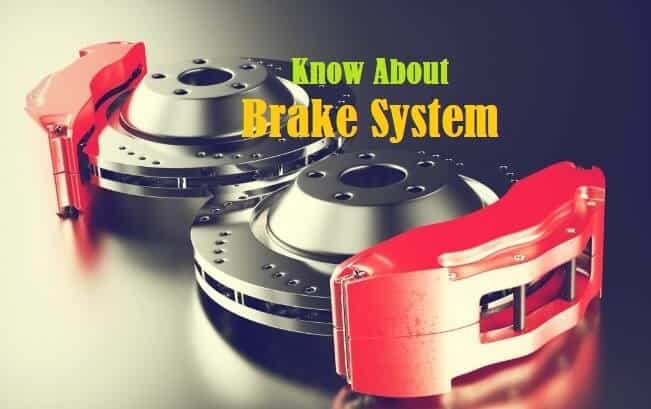
Step 3: Disc Brake Conversions
If your classic car still has drum brakes, upgrading to discs should be at the top of your list—especially with a crate engine.
Front Disc Conversion
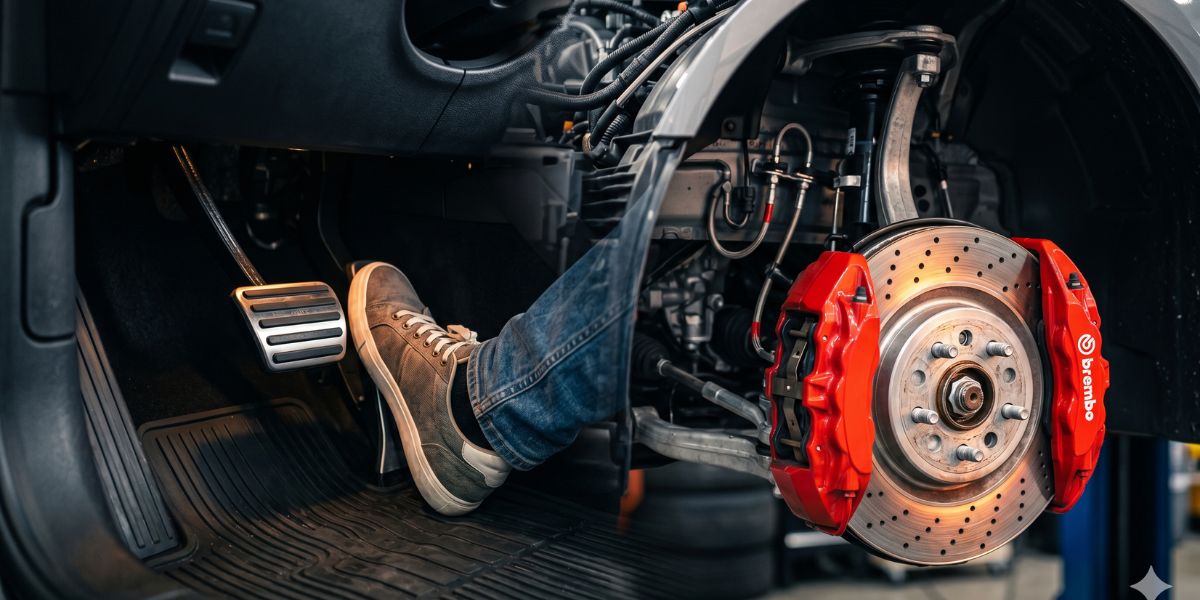
The front brakes do 60-70% of the stopping work. A front disc conversion is the single biggest safety upgrade you can make.
Popular Kits:
-
Wilwood: High-performance, lightweight, great for pro-touring builds
-
Baer Brakes: Premium kits with excellent fit and finish
-
Right Stuff Detailing / CPP: Budget-friendly options for cruisers and street cars
Cost: $600–$1,500 for front kits
Four-Wheel Disc Conversion
Going to four-wheel discs provides balanced stopping power, better fade resistance, and modern brake feel.
Considerations:
-
Requires a disc/disc master cylinder
-
May require a new proportioning valve (adjustable units are highly recommended)
-
Rear parking brake options vary (integrated caliper vs. separate drum-in-hat)
Cost: $1,200–$3,500 for complete kits
Drum Brakes: Should You Keep Them?
If your car is a pure show car or you’re on an extremely tight budget, properly rebuilt drum brakes can stop a car once or twice. But for any crate engine build intended for actual driving, disc brakes are non-negotiable.
Step 4: Brake Lines and Fittings
Your new crate engine and brake system likely live in a different plumbing universe than your original car.
Materials
-
Steel Lines: OEM-style, durable, inexpensive. Requires flaring tools for custom work.
-
Stainless Steel: Corrosion-proof, looks great. Harder to flare and seal properly.
-
Copper-Nickel (CuNi): The favorite of professional builders. Easy to bend by hand, corrosion-resistant, and flares easily.
Fittings
Modern crate engines often use metric fittings (GM LS engines use metric brake fittings at the master cylinder). Your classic car uses SAE (standard) fittings. You’ll need adapter fittings or a master cylinder that matches your existing lines.
Common Adapters: -3 AN to SAE, metric bubble flare to SAE double flare.
Pre-Bent Kits
Companies like Inline Tube, Classic Tube, and Right Stuff offer pre-bent stainless steel brake line kits for virtually every classic car. These are worth every penny—bending your own lines is time-consuming and frustrating.
Step 5: Proportioning Valves and Brake Bias
When you mix components (big brakes up front, drums in the rear, or a lighter engine), the brake bias changes. An adjustable proportioning valve allows you to fine-tune the rear brakes to prevent lockup.
Where to Install: In the rear brake line, after the master cylinder but before the rear hose.
How to Adjust:
-
Find an empty parking lot.
-
Make a hard stop from 30–40 mph.
-
If the rear brakes lock before the fronts, turn the valve to reduce pressure to the rear.
-
Repeat until the fronts lock just before or simultaneously with the rears.
Step 6: Parking Brake Solutions
Modern crate engine swaps often create parking brake challenges, especially with rear disc conversions.
Options:
-
Integrated Calipers: Some rear disc kits use calipers with built-in mechanical parking brakes (common in GM metric calipers).
-
Drum-in-Hat: A small drum brake is built into the rotor hat. This is the strongest parking brake setup.
-
Line Locks: Not a legal parking brake, but can supplement a weak system for temporary holding.
-
Locar Cables: If your original cables don’t fit, companies like Locar sell universal parking brake cable kits you can custom-cut.
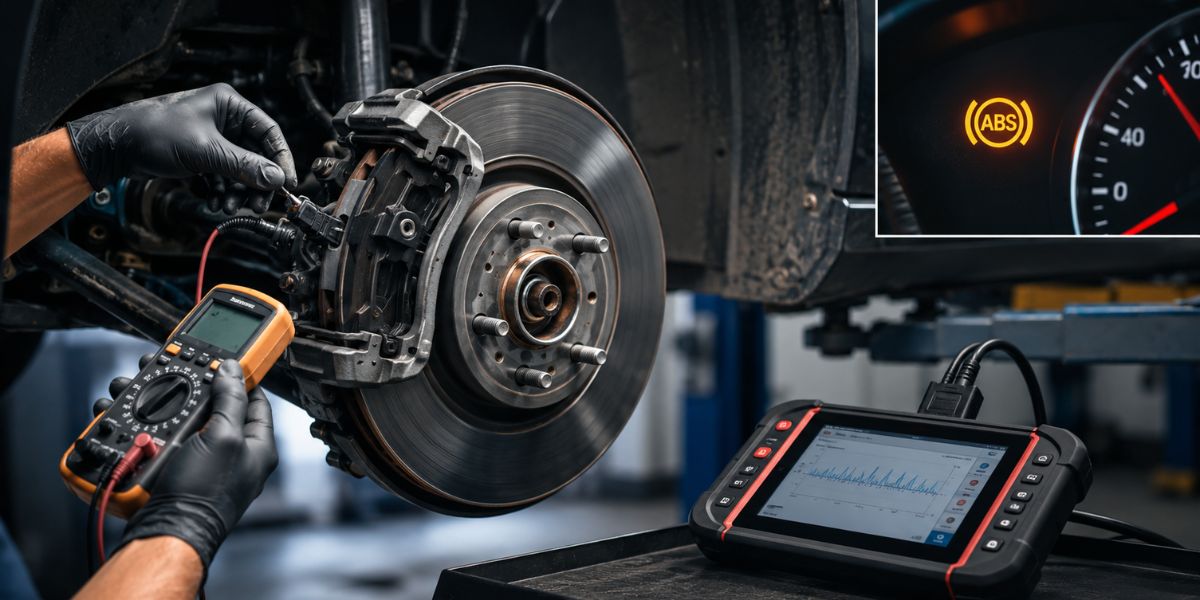
Step 7: Brake Bleeding and Break-In
Bleeding
With a new master cylinder, lines, and calipers, you’ll have a lot of air in the system.
-
Bench Bleed the Master Cylinder: This is mandatory. Install the master cylinder on the bench with the included bleeding kit before mounting it in the car.
-
Pressure Bleeding: The best method. A Motive Power Bleeder makes the job a one-person operation.
-
Two-Person Bleeding: Old reliable. Just make sure the assistant doesn’t let the master cylinder run dry.
Bedding-In Pads
New brake pads and rotors need to be bedded in to transfer pad material to the rotor surface.
Standard Procedure:
-
Make 6–8 moderate stops from 40 mph to 10 mph, allowing cooling in between.
-
Make 4–6 hard stops from 60 mph to 10 mph.
-
Drive for 10–15 minutes without using the brakes to let everything cool.
-
Do not hold the brake pedal at a stop during cooling—use the parking brake.
Common Crate Engine Brake Scenarios
Scenario 1: LS Swap into a Classic Chevy
Challenge: The LS engine produces low vacuum at idle (especially with a cam). The original vacuum booster won’t work properly.
Solution: Install a hydroboost system. Companies like Holley, CPP, and Hydratech make LS-specific hydroboost brackets that bolt to the LS engine’s accessory drive.
Also Need: Disc brake conversion (at least front), adjustable proportioning valve, and a master cylinder compatible with your caliper configuration.
Scenario 2: Big Block with Aggressive Cam
Challenge: A big block with 10 inches of vacuum or less won’t run a vacuum booster reliably.
Solution: Hydroboost, or consider a vacuum pump (electric) if you’re committed to a vacuum booster setup.
Scenario 3: Budget Small Block Build
Challenge: You’re on a budget but still need safe brakes.
Solution: If the engine produces 16+ inches of vacuum, keep vacuum brakes. Upgrade to front discs using a budget-friendly kit ($600–$800). Rebuild the rear drums with quality components. This setup is safe for a street cruiser.
Brake System Shopping List
If you’re planning a crate engine install, here’s your brake system checklist:
-
Brake booster (vacuum or hydroboost)
-
Master cylinder (match to disc/disc or disc/drum)
-
Proportioning valve (adjustable recommended)
-
Front disc brake conversion kit
-
Rear disc conversion kit (optional but recommended)
-
Brake lines (pre-bent kit or copper-nickel coil)
-
Adapter fittings (metric to SAE if needed)
-
Parking brake cables (if existing don’t fit)
-
Brake fluid (DOT 3 or DOT 4; never mix types)
-
Motive Power Bleeder (highly recommended)
Final Verdict: Brakes Are Not Optional
Building a car with a high-performance crate engine and neglecting the brakes is like putting a jet engine on a go-kart. It’s exciting until the moment you need to stop.
The good news is that the aftermarket has never been better. Whether you need a simple front disc conversion with vacuum boost or a full hydroboost four-wheel disc setup, there’s a kit designed specifically for your chassis and engine combination.
Budget at least $1,500–$3,000 for a comprehensive brake system upgrade when planning your crate engine swap. It’s not the glamorous part of the build, but it’s the one that will save your life—and your investment.
FAQ: Crate Engine Brake Systems
Q: Do I need power brakes with a crate engine?
A: No, manual brakes work fine if you choose the correct master cylinder bore size. However, with a high-horsepower engine, the additional assist of power brakes makes for a safer, more enjoyable driving experience.
Q: How do I know if my engine has enough vacuum for power brakes?
A: Install a vacuum gauge on the intake manifold. At idle in gear (automatic) or at idle (manual), you need at least 15 inches of mercury. If it’s below 12, vacuum brakes will feel inconsistent.
Q: Can I use my original brake booster with an LS swap?
A: Possibly, but the LS accessory drive often positions the power steering pump where the booster wants to sit. Many LS swaps require a hydroboost or a slim-line vacuum booster to clear the intake and accessories.
Q: What’s the best brake upgrade for a classic car with a crate engine?
A: Hydroboost power assist, four-wheel disc brakes, and an adjustable proportioning valve. This combination provides modern stopping performance that matches your modern engine power.
Q: Do I need to upgrade my brake lines?
A: If your original lines are original to the car (40+ years old), yes. Rust, corrosion, and age compromise safety. Stainless steel or copper-nickel lines are a worthwhile investment.
Are you doing a crate engine swap? What brake system are you planning to run? Drop a comment below—we’d love to help you build a safe, fast machine.